Manage Roles
Creating a Role
New role can be created from the top navigation bar where all existing roles are available:
- Admin> System > Manage Roles and Permissions
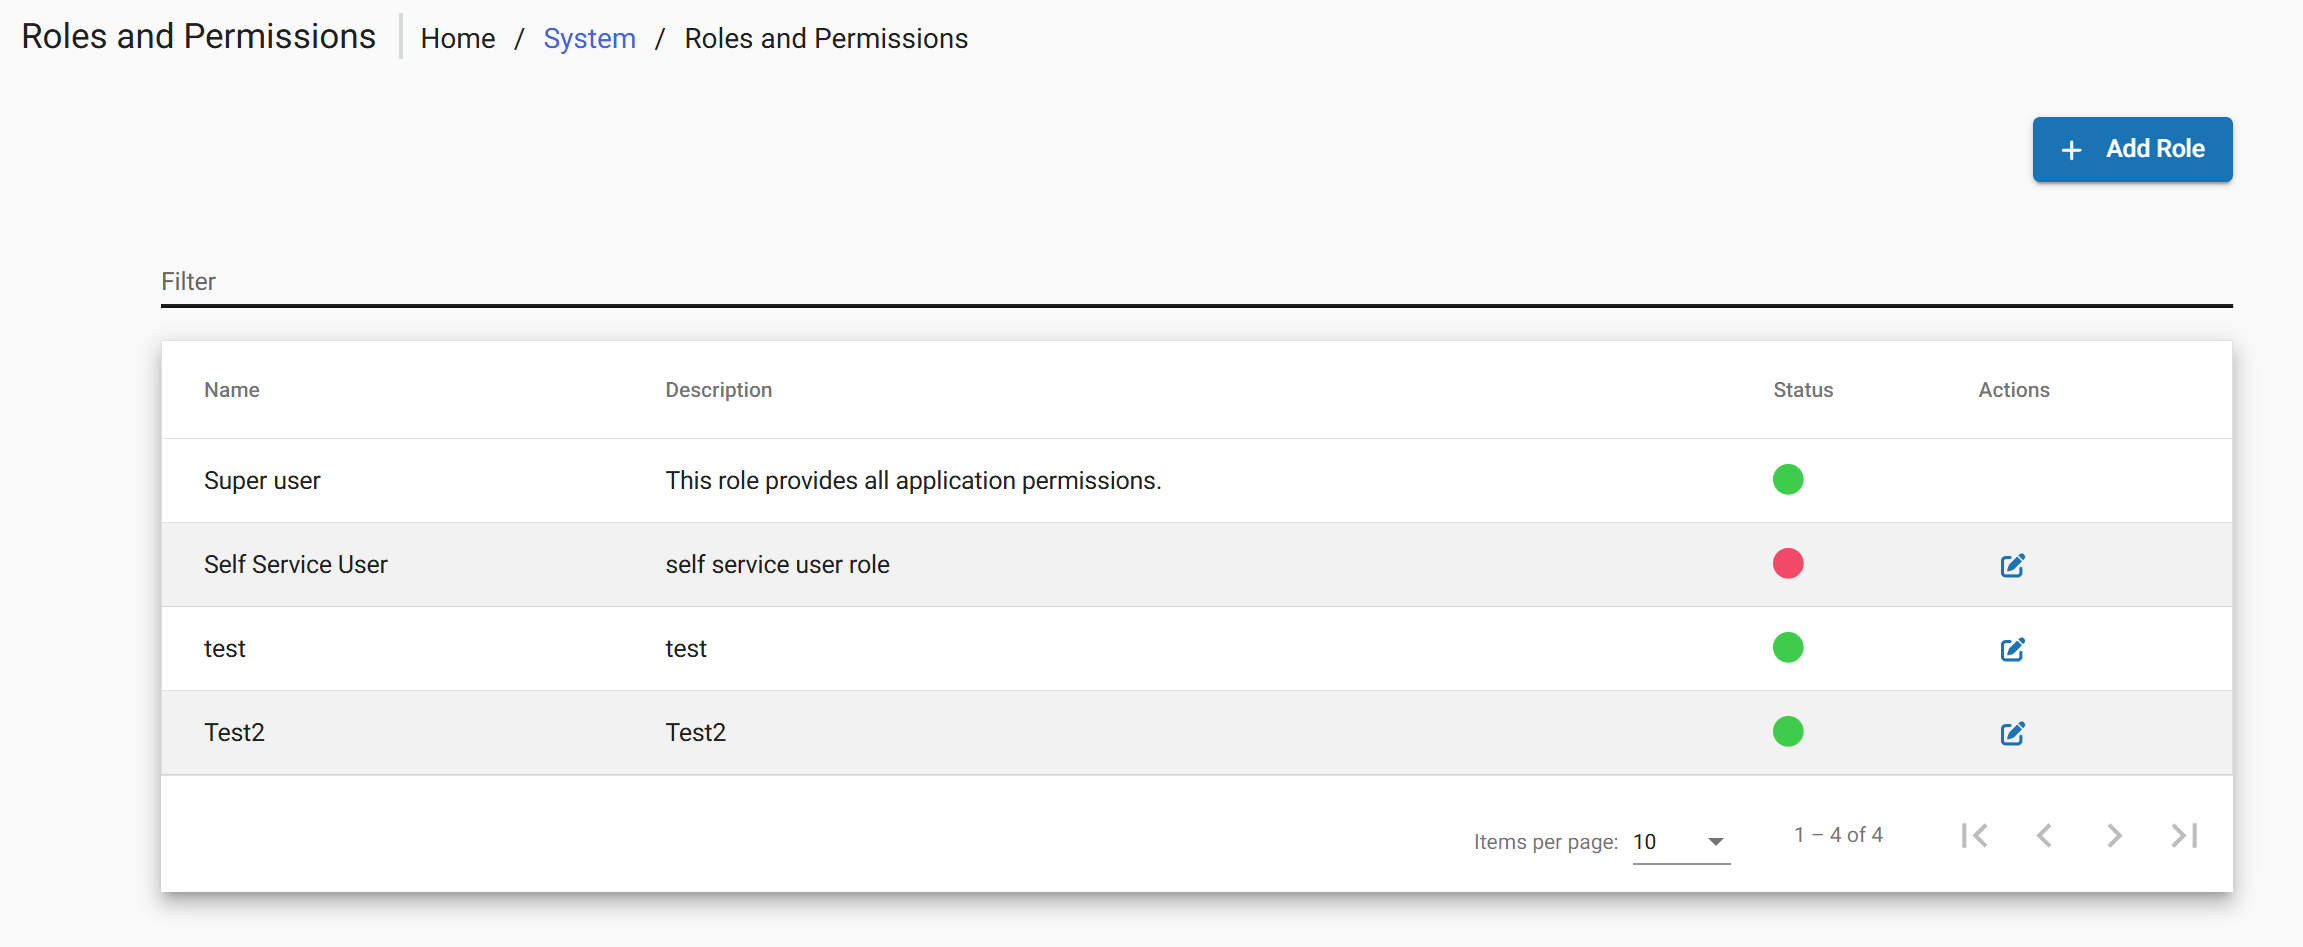
- Choose Add Role.
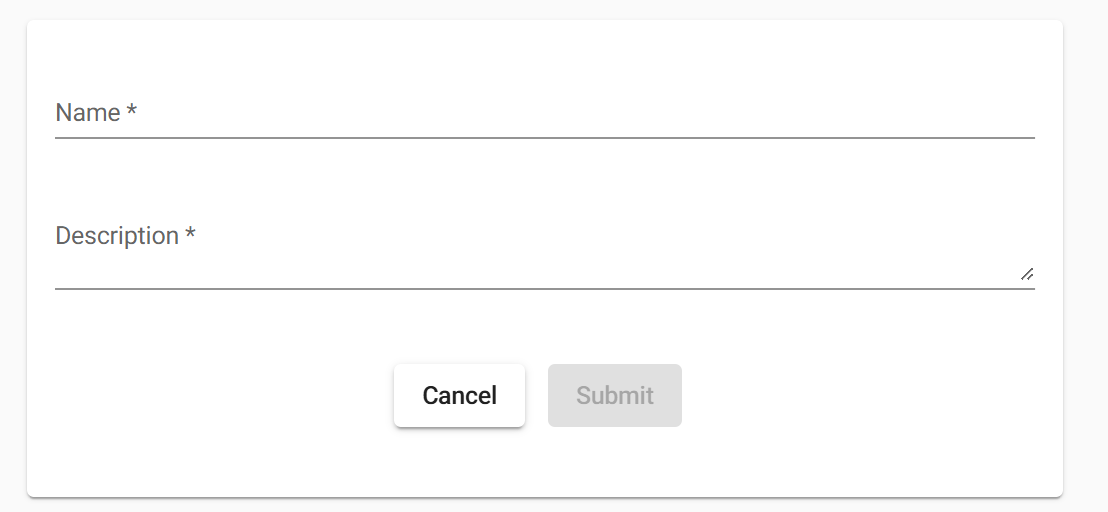
Editing and Deleting a Role
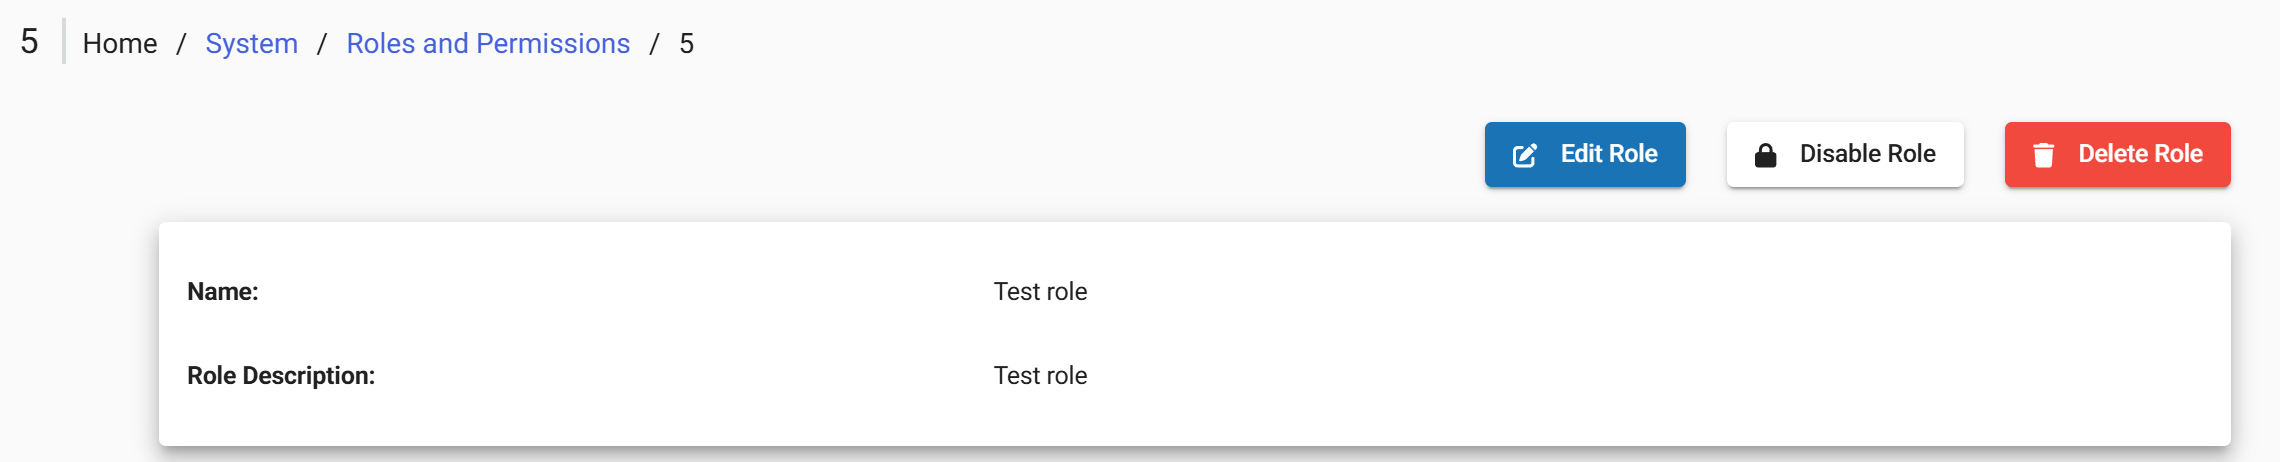
After role created the following actions are available via buttons at the top of the screen:
- Edit Role Opens the user profile in edit mode to modify user details
- Disable/Enable Role Controls whether a role is active and can be assigned or used within the system
- Delete Role Removes the role from the system
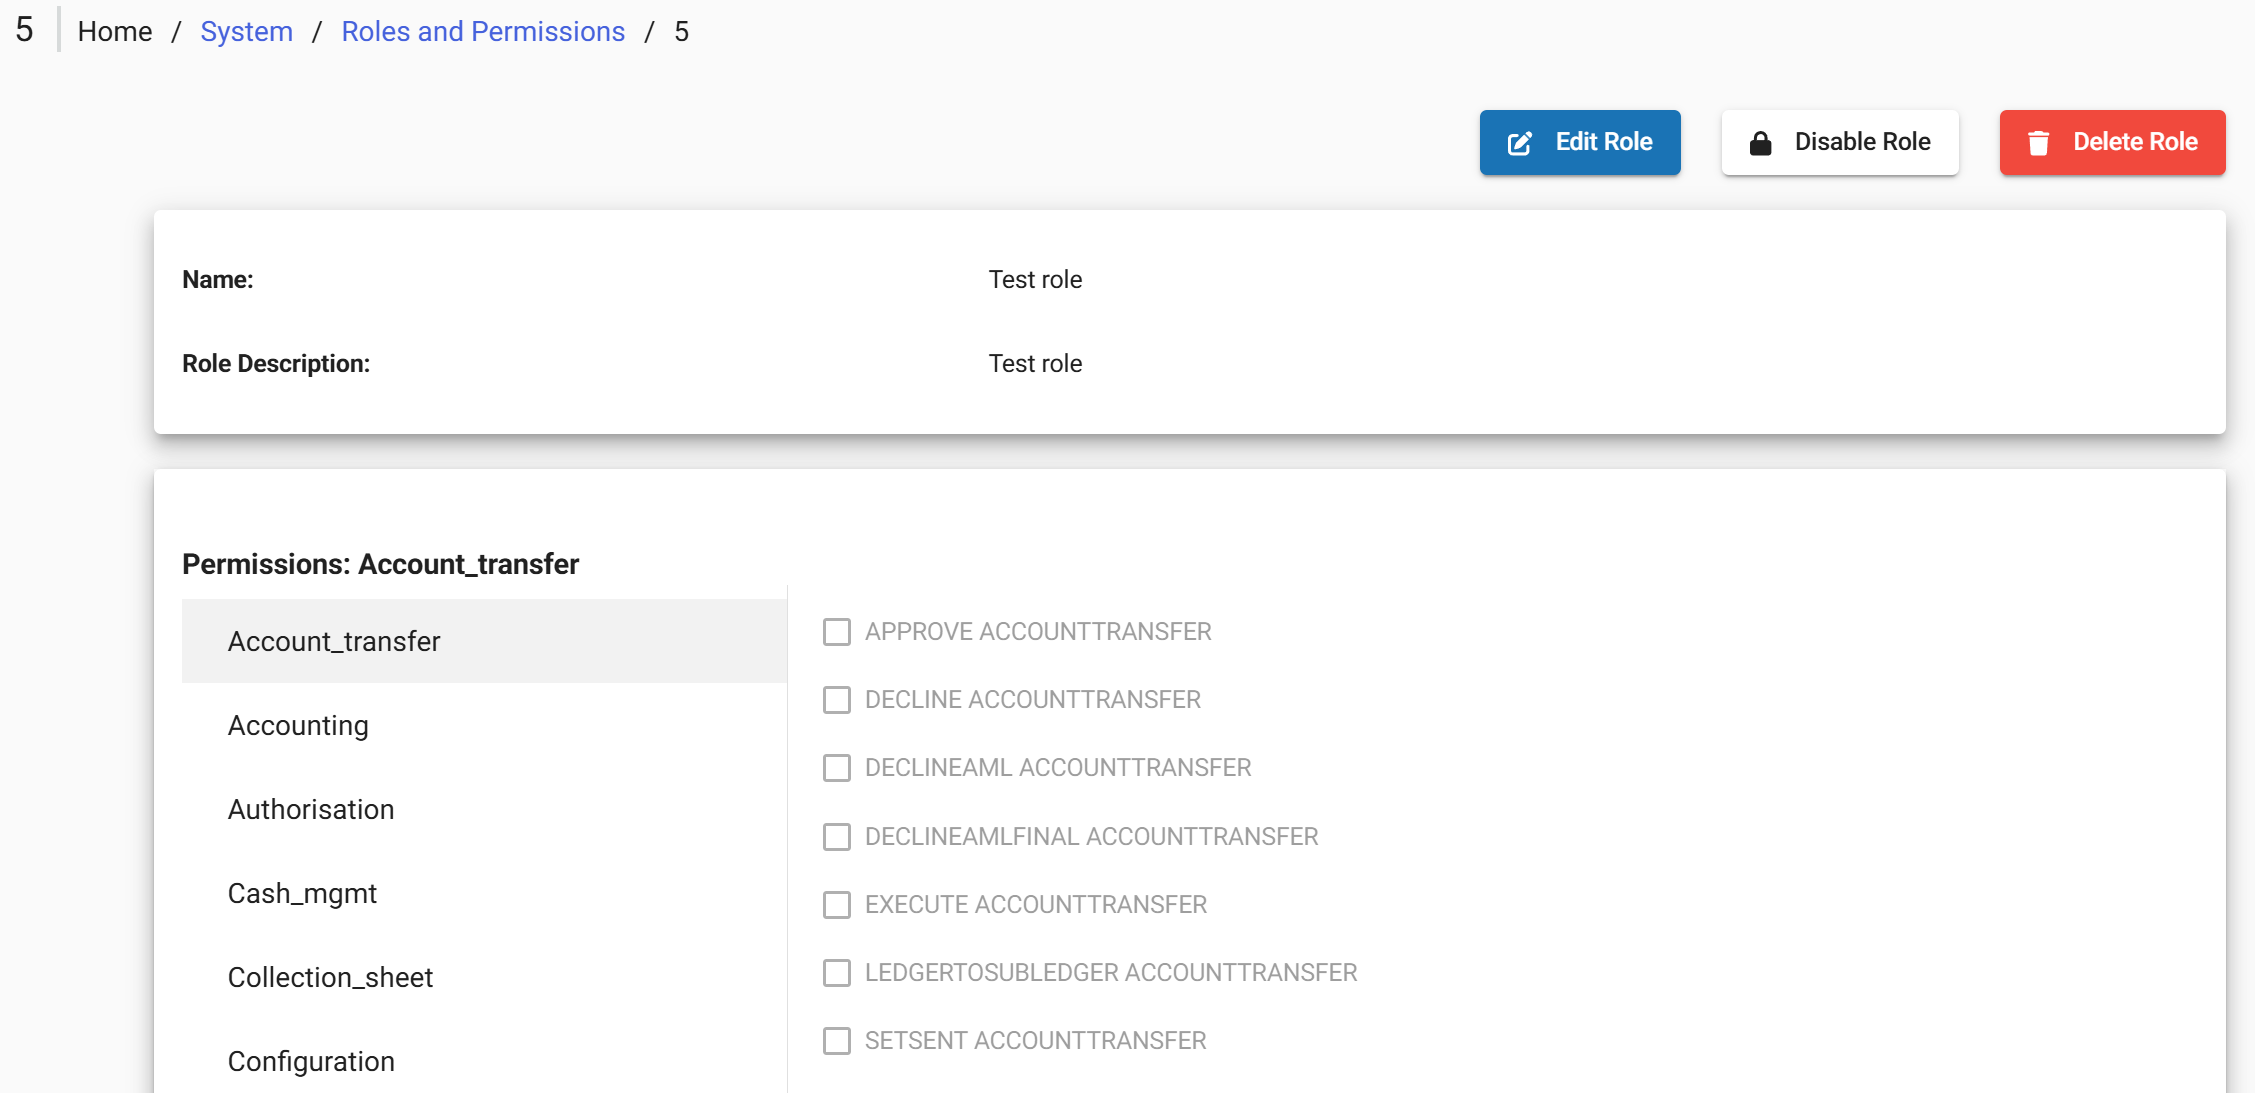
At the bottom of the screen are available list of the permissions. See Permissions Reference
Assigning a Role
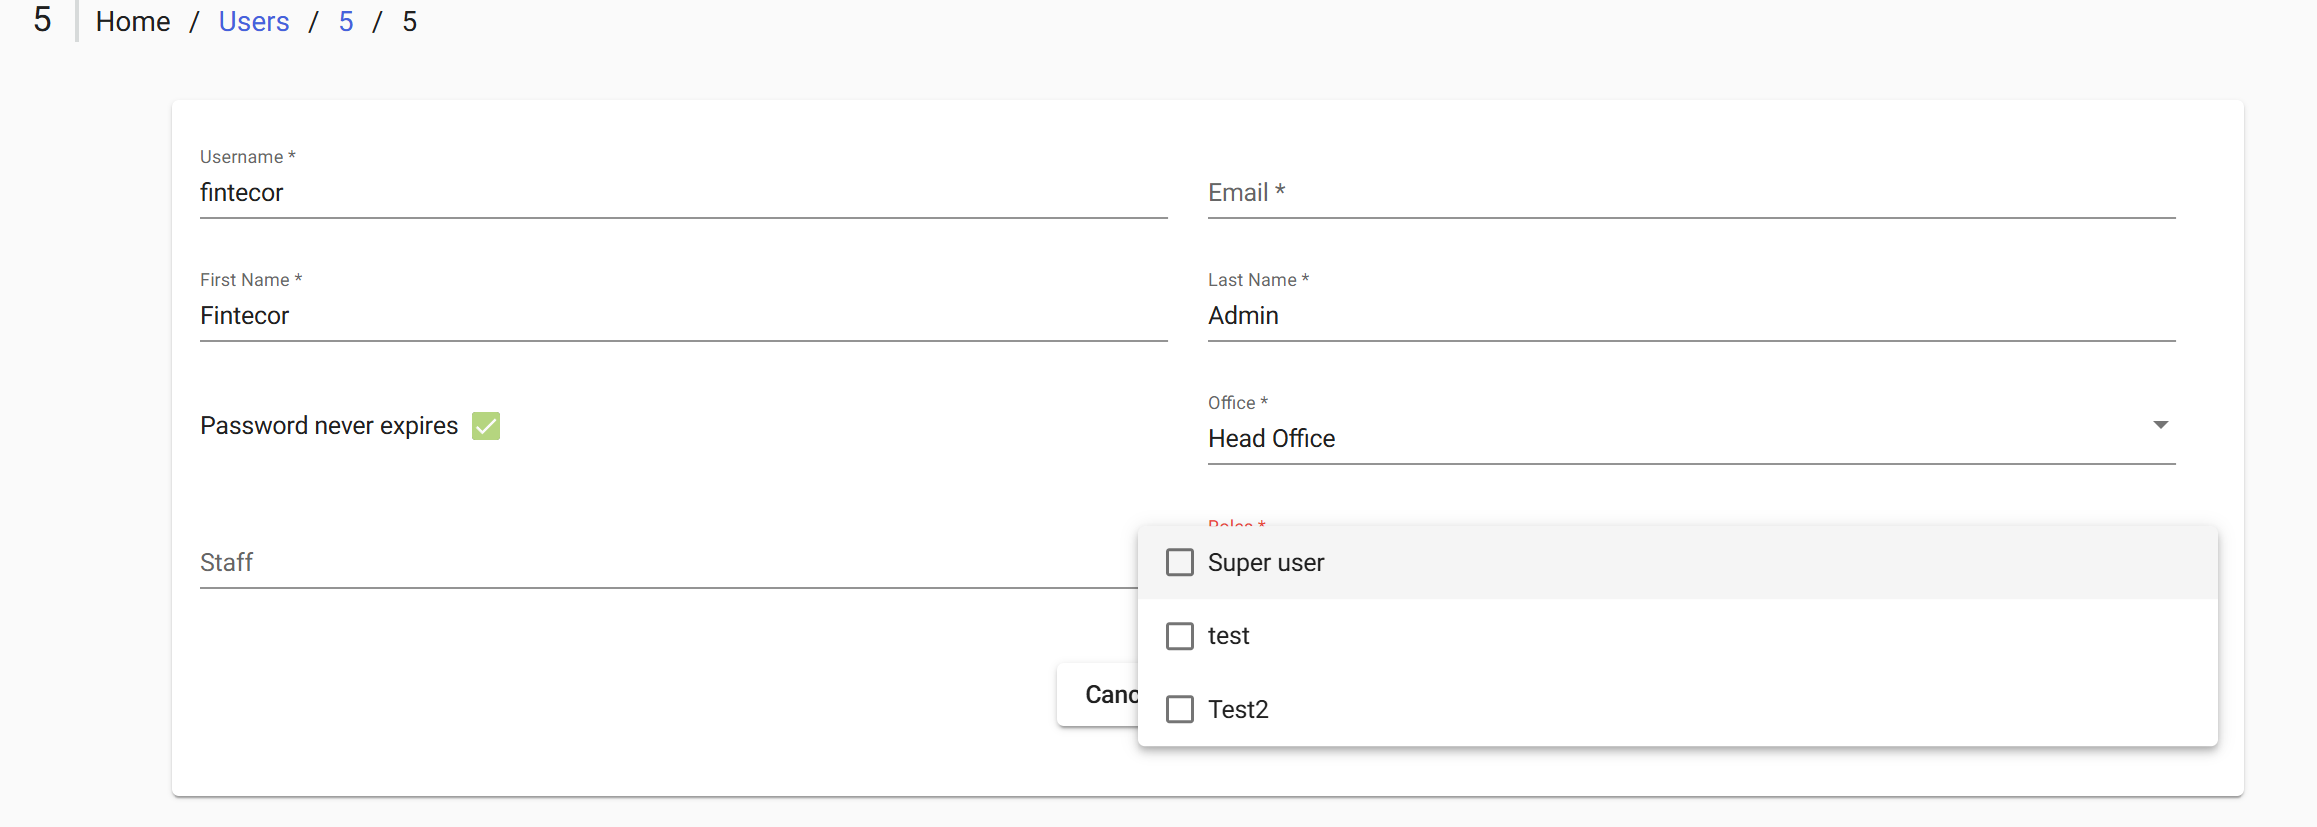
To apply Role directly through the interface:
• Admin > Users > Open the target user for editing > Select the Role field
• Tick the checkboxes for the role to be granted> Submit to save changes
Roles Reference
The following tables describe the available permissions by functional category. Its administration available under
· Admin > System > Manage Roles and Permissions.
After FintEdge setup the following default list of roles is configured:
|
Role |
Permissions overview |
|
Super User |
|
|
Back Office |
|
|
Front Office |
|
|
Reports |
|
|
Manage Users |
|