Manage Roles

Creating a Role

New role can be created from the top navigation bar where all existing roles are available:
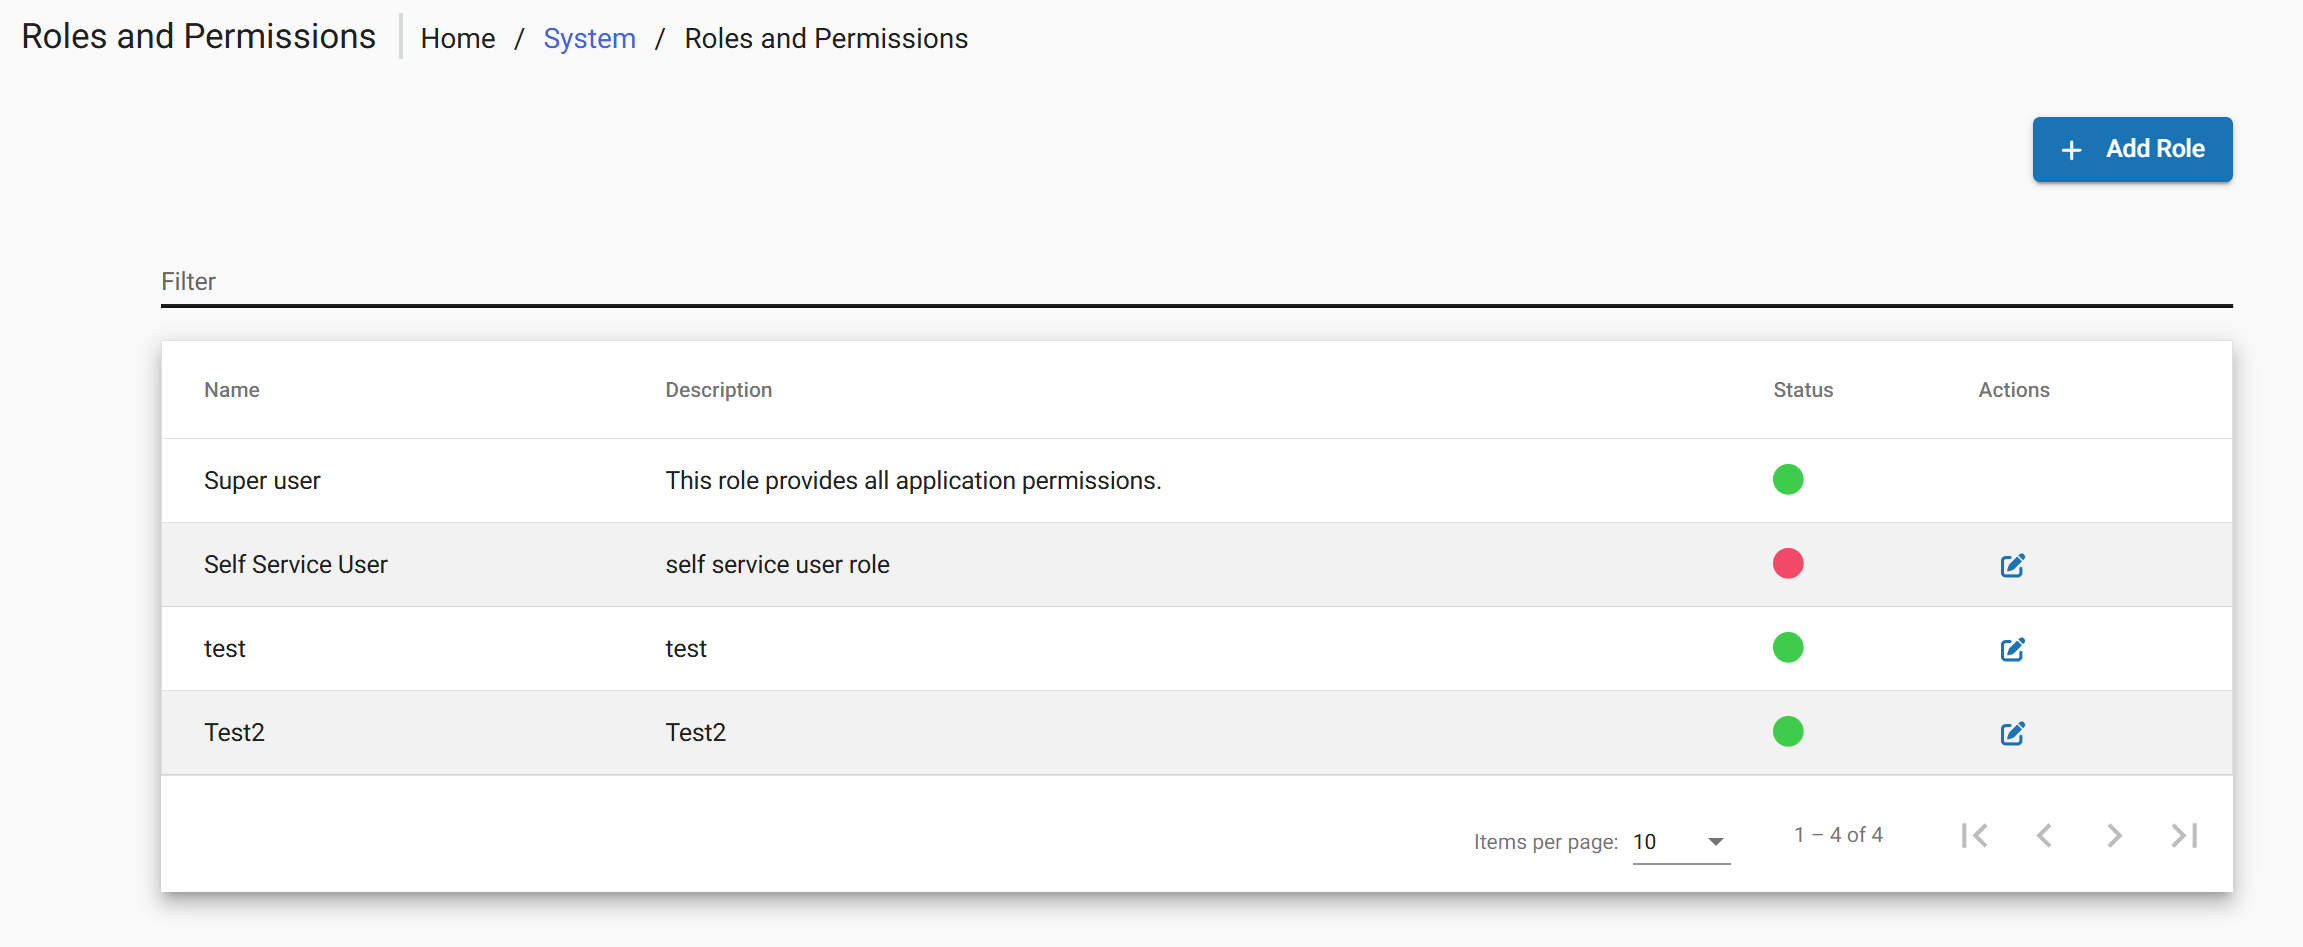
     Admin> System > Manage Roles and Permissions

    image.png

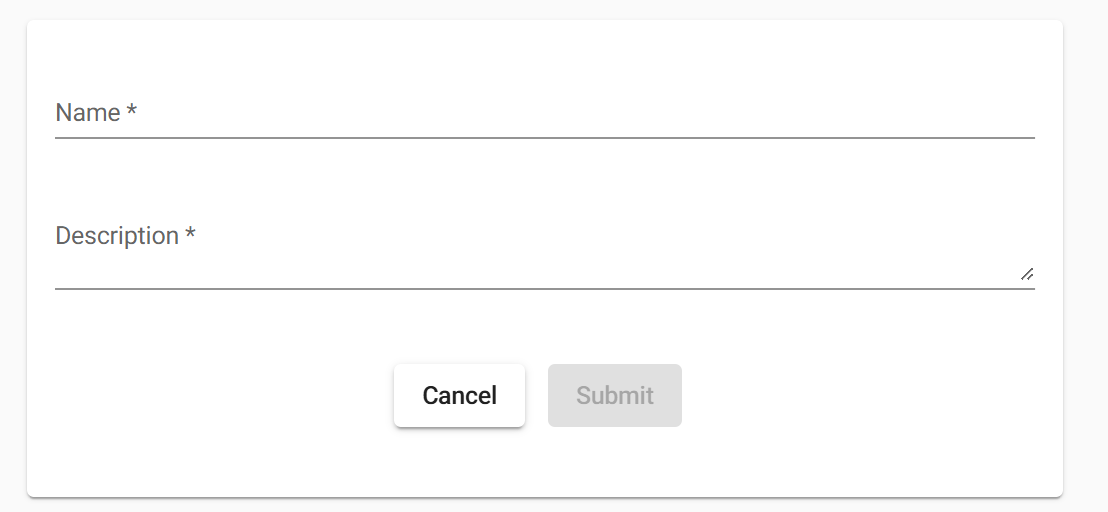
      Choose Add Role.

      image.png

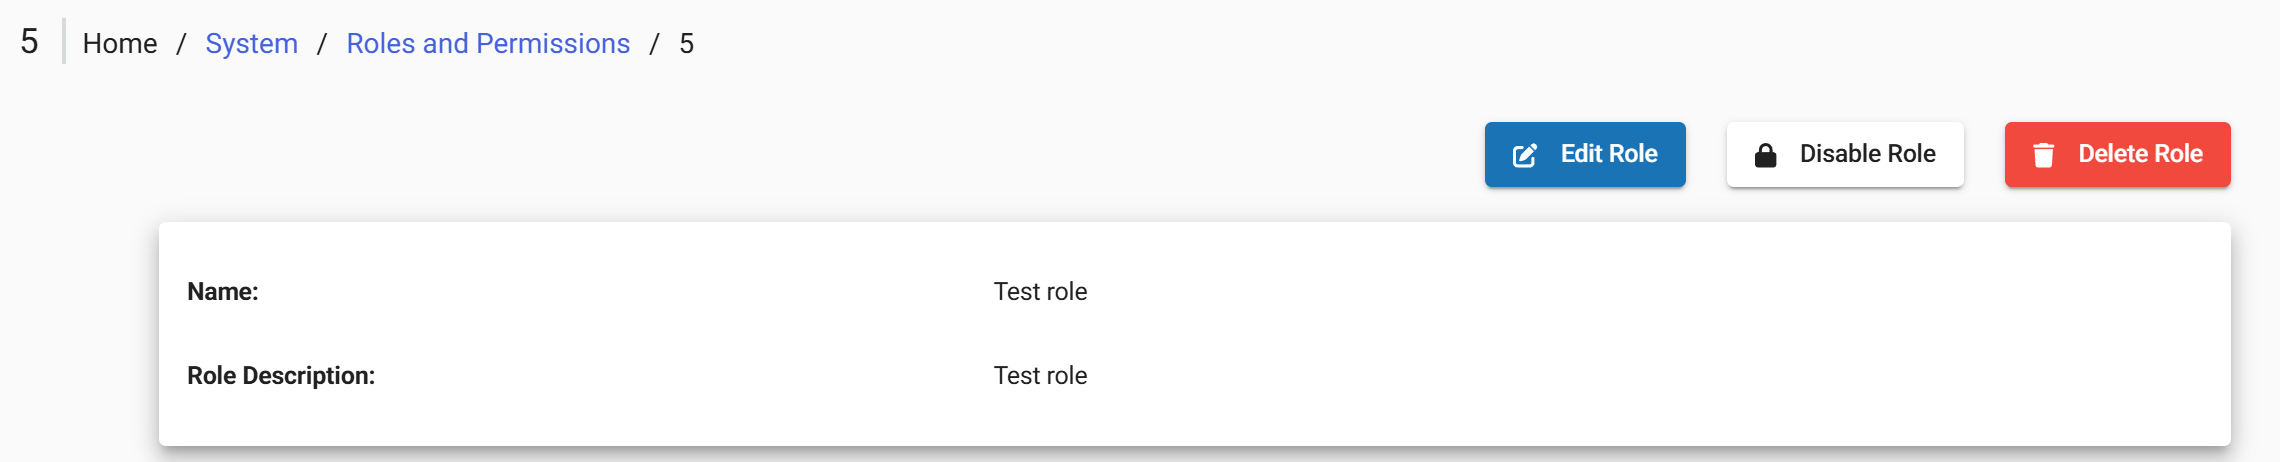
      Editing aand Role
      Deleting a Role


      image.png


      Assigning a Role

      To apply Role directly through the interface:

              Admin > Users >   Open the target user for editing >  Select the Role field 

              Tick the checkboxes for the role to be granted> Submit to save changes
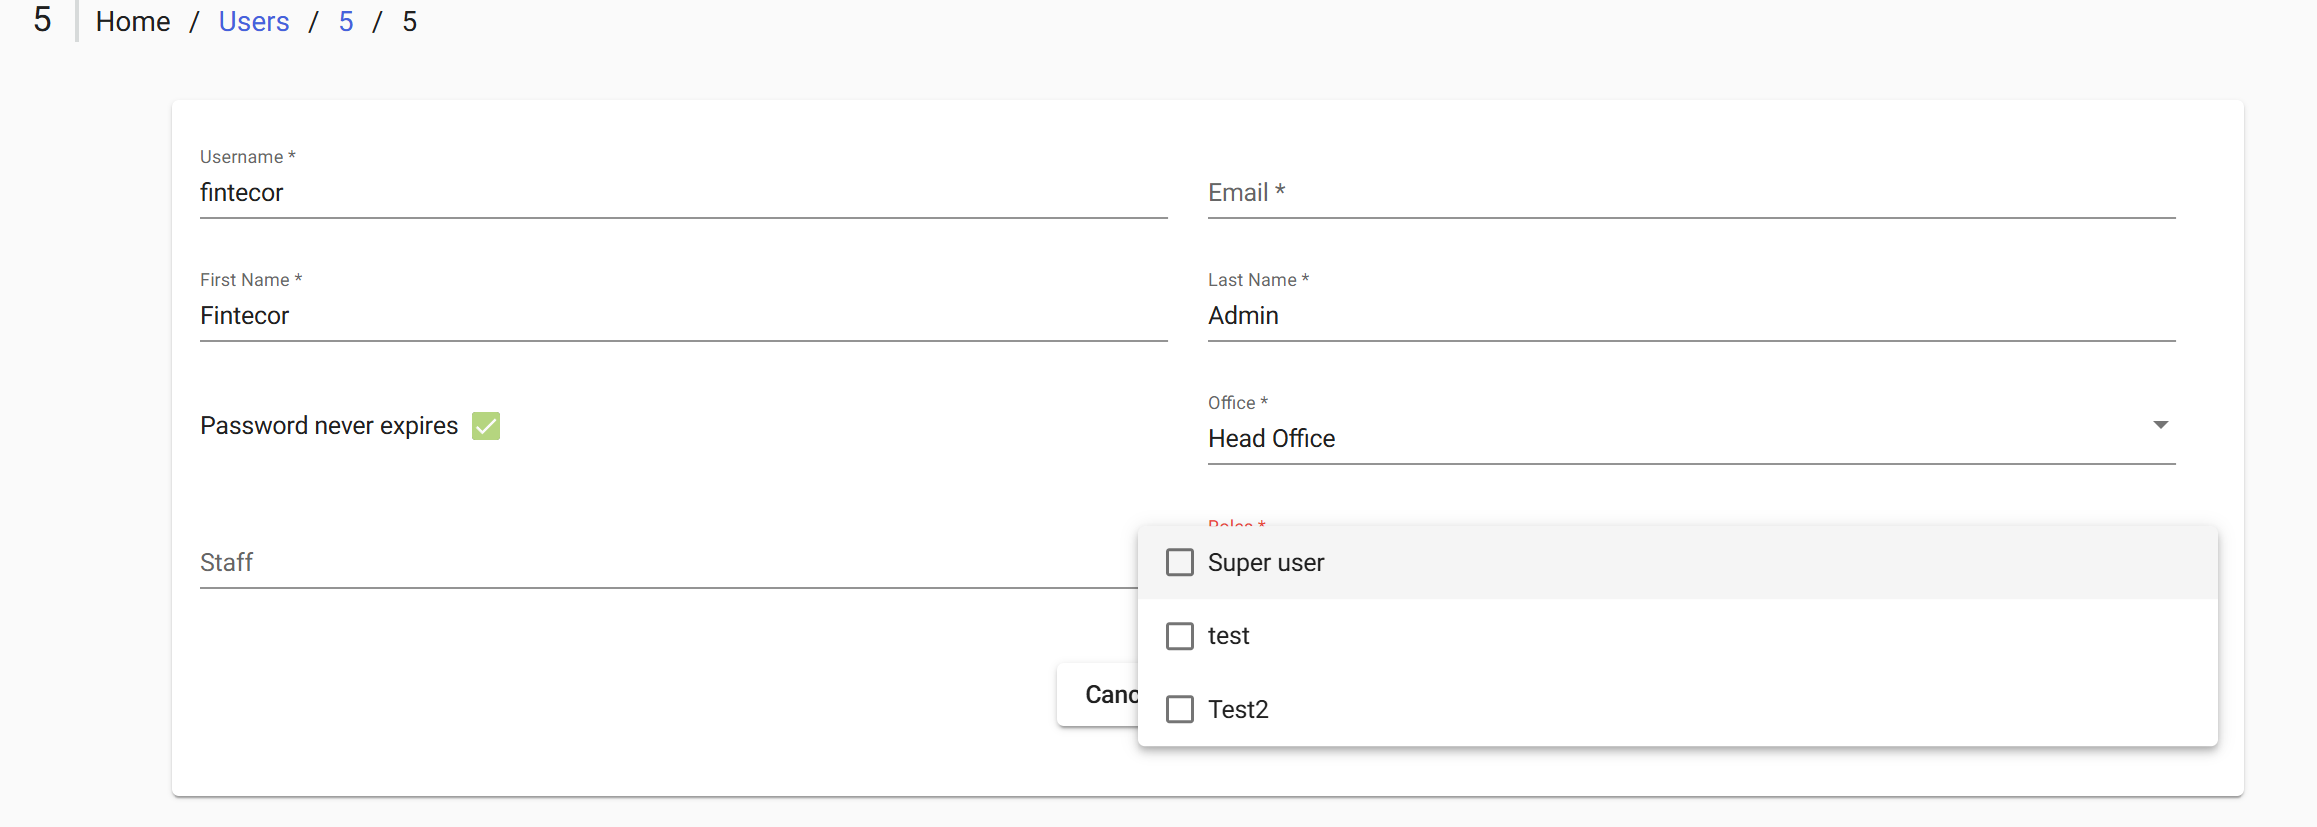
       

      image.png

      Roles Reference

      The following tables describe the available permissions by functional category. Its administration available under

      ·        Admin > System > Manage Roles and Permissions.

      After FintEdge setup the following default list of roles is configured:

      Role

      Permissions overview

      Super User

      • A user with full system access and administrative privileges.

      Back Office

      • Manage client lifecycle (Create, block, close, reactivate)
      • Open, update, and maintain savings accounts
      • Perform transfers 
      • View accounting, maintain journal entries
      • Manage and review system configuration data (products, currencies, code values etc.)
      • Execute approval (checker) actions across multiple processes
      • View main reports

      Front Office

      • Create and update client profiles
      • Open, update, and maintain savings accounts
      • Read transfers
      • Support client requests and basic operations
      • View basic reports

      Reports

      • View reports 
      • Access financial and operational data 
      • Export data for analysis 

      Manage Users

      • Create, update, and delete users
      • Manage user access and permissions
      • Perform approval actions for user changes
      • View administrative configuration settings